There are many steps involved in pool removal. Let’s get down and dirty with them all. It’s important to note that every job is different, and this is merely what the average pool removal will look like.
- 1: Assess the Site
- What sort of pool is it?
- How much access do we have?
- 2: Papers and Permits
- 3: Prepare the Site
- Remove or disconnect all drains, utilities, etc.
- Remove all pool accessories, pumps, and so forth.
- Drain the Pool
- Take pictures of everything
- Clear a path for the machines
- Set up Erosion Control
- 4: Pool Demolition Begins
- If You Have a Vinyl pool
- If You Have a Concrete Pool
- 5: Clean Up the Waste
- 6: Fill the Hole
- Compacting is important, too
- 7: Seed Your New Yard
- Get Started today with your free quote!
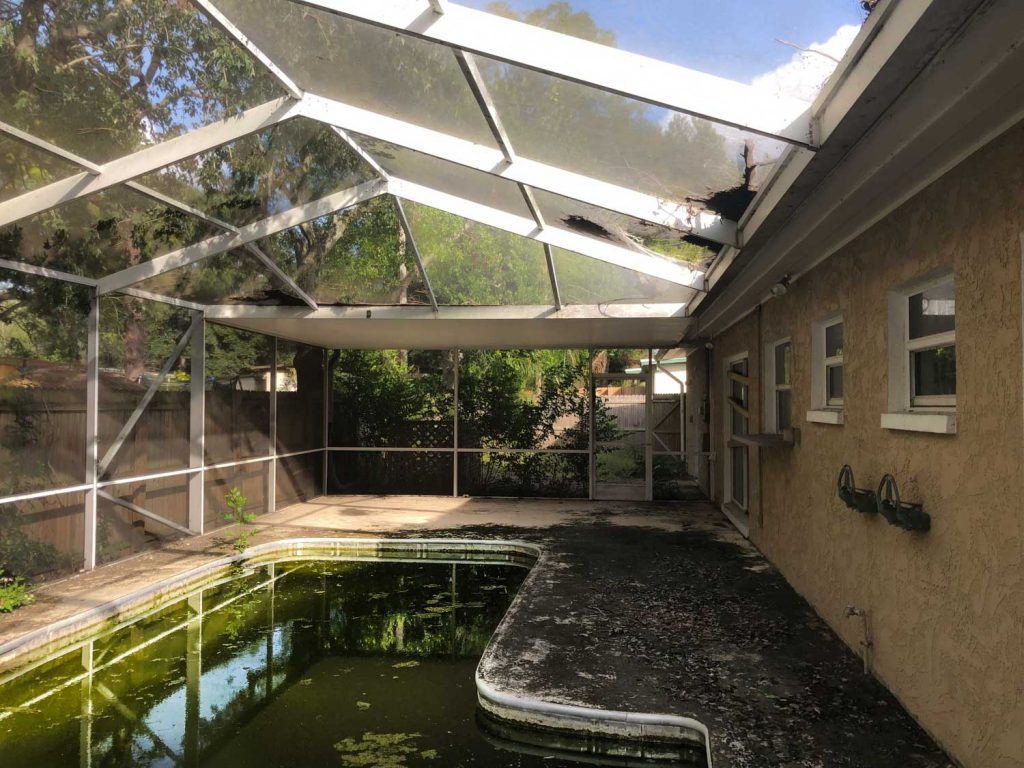
1: Assess the Site
Once you give us a call, one of our best guys will want to walk the property with you and see what we’re up against. This is to make sure we know all the variables and can give you the most accurate estimate possible. A few of the things he will be looking at:
What sort of pool is it?
Is your pool made of vinyl, concrete, or fiberglass? The answer to this question will inform a few of the decisions we have to make further down the line. The process is generally the same no matter what, but the tools we use might change.
How much access do we have?
Can we park in your driveway? Can we drive through your yard to get to the pool? Where can we drop our dumpster? We have to be able to get our equipment in and get the waste from the pool removal out. We don’t want to ruin your sprinkler system while we’re doing that, or block the garage before your spouse leaves for work.
2: Papers and Permits
This is when you get your free estimate from us, based on what we found out in step 1. If you choose to go with us at this point, we’ll send over a contract for you to sign. Then we go to the city and pull a permit to begin work.
3: Prepare the Site
Before we send any of the big machines in, we want to make sure everything is ready for them so that they can get straight to business when they arrive.
Remove or disconnect all drains, utilities, etc.
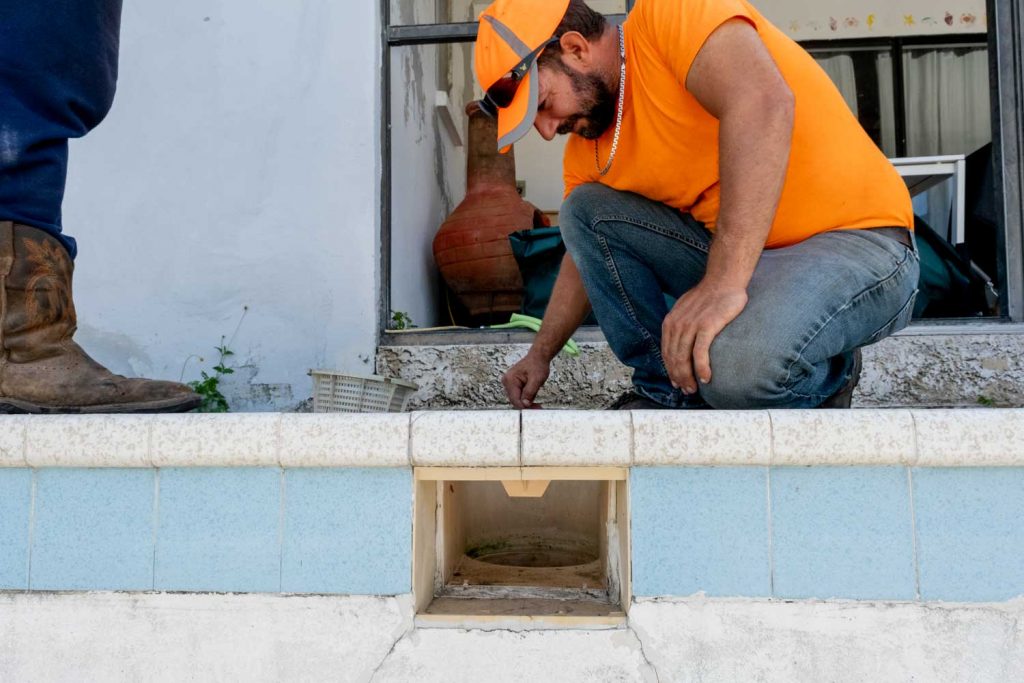
Water+Electricity = bad news. We want to make sure that any circuits running to the pool area are cut. Similarly, we need to make sure there are no water lines still running to the pool. We don’t want to start digging and break a pipe we weren’t aware of. Gas heaters? You guessed it – turn those off at the source.
Remove all pool accessories, pumps, and so forth.
Get your deck chairs, your floaties, and your paddleboards out of there. Whatever is left will just be in the way and could be broken. We will do our best to respect your belongings, but it’s easier for everyone if they’re gone when we get there.
Drain the Pool
Get that water out. If there’s a very small amount of standing water at the bottom, it won’t hurt anyone. But the goal is to fill a dry hole, not create a small swamp in your yard.
Take pictures of everything
This is for liability protection and to make sure we put everything back exactly the way it was. If we don’t know how it was, we can’t put it back that way!
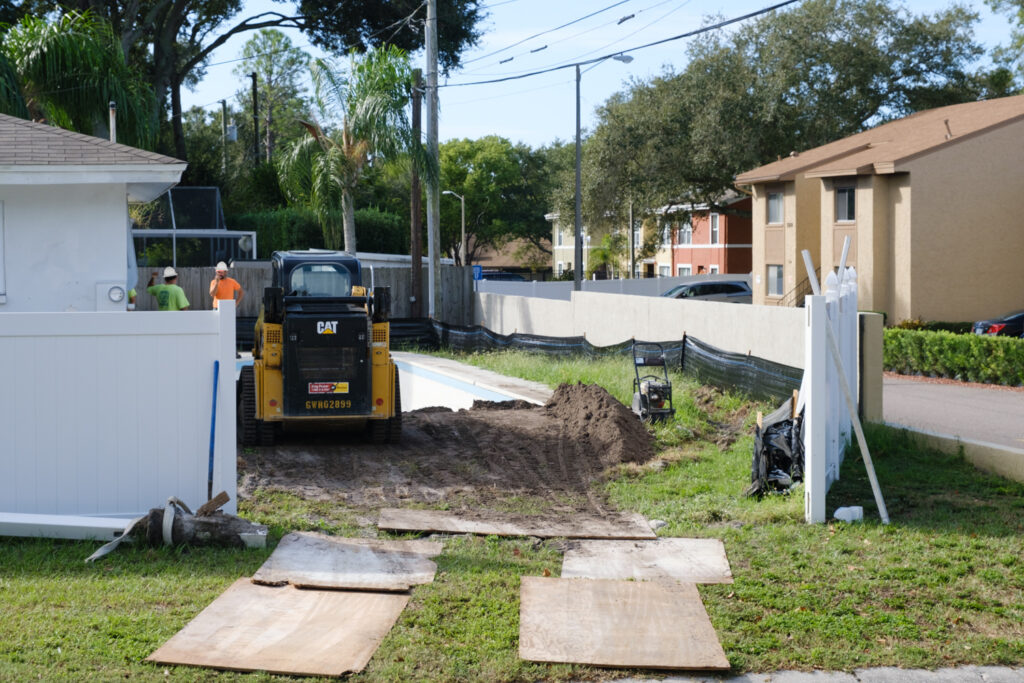
Clear a path for the machines
If you need to move the cars so we can get access, this is the time to do it. Sometimes we lay down plywood tracks, so that we don’t tear up your yard too much or damage your driveway. If a section of fence needs to come out, or a tree has to be cut back, we will do that as well.
Set up Erosion Control
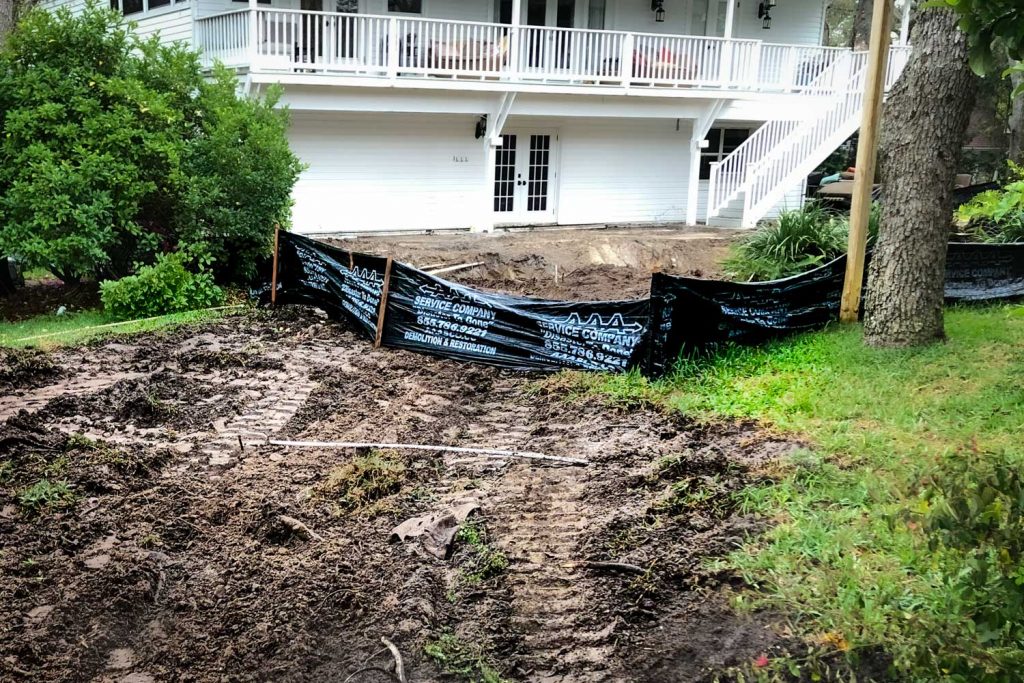
Usually grass, shrubs, trees, and the like keep the soil in place. But during the pool removal process, the soil will be temporarily exposed. We don’t want any of your good topsoil to wash away in the rain, so we install erosion control measures to keep everything right where you want it.
4: Pool Demolition Begins
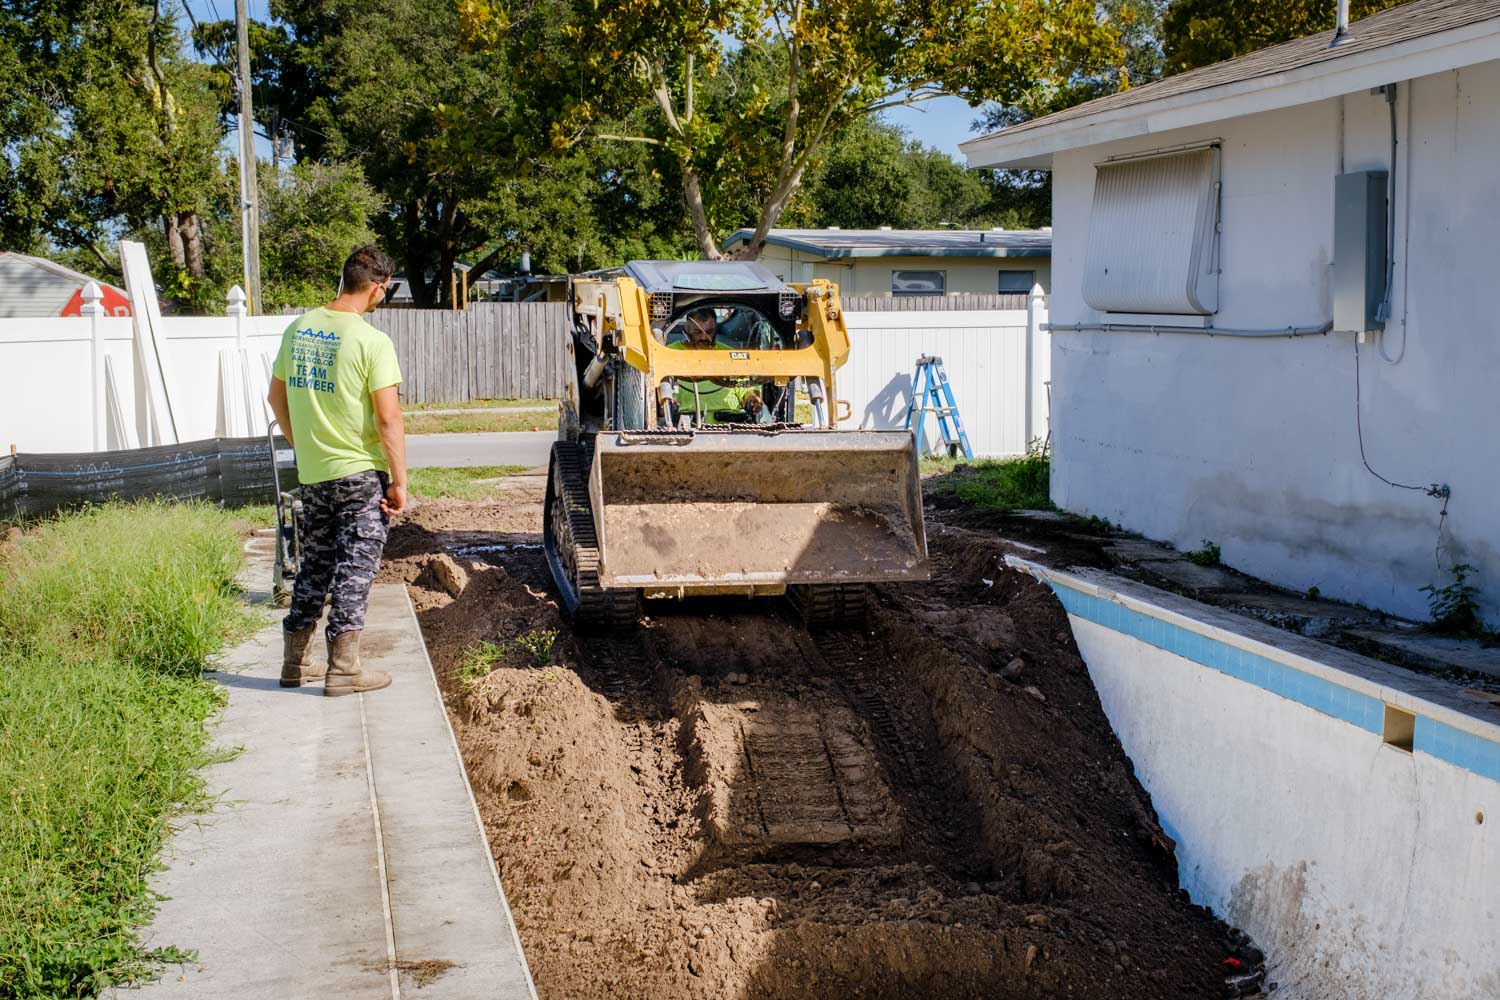
With our access secured, the action can begin. We will show up on the agreed-upon day and time, roll in a skid steer or an excavator, and get to work.
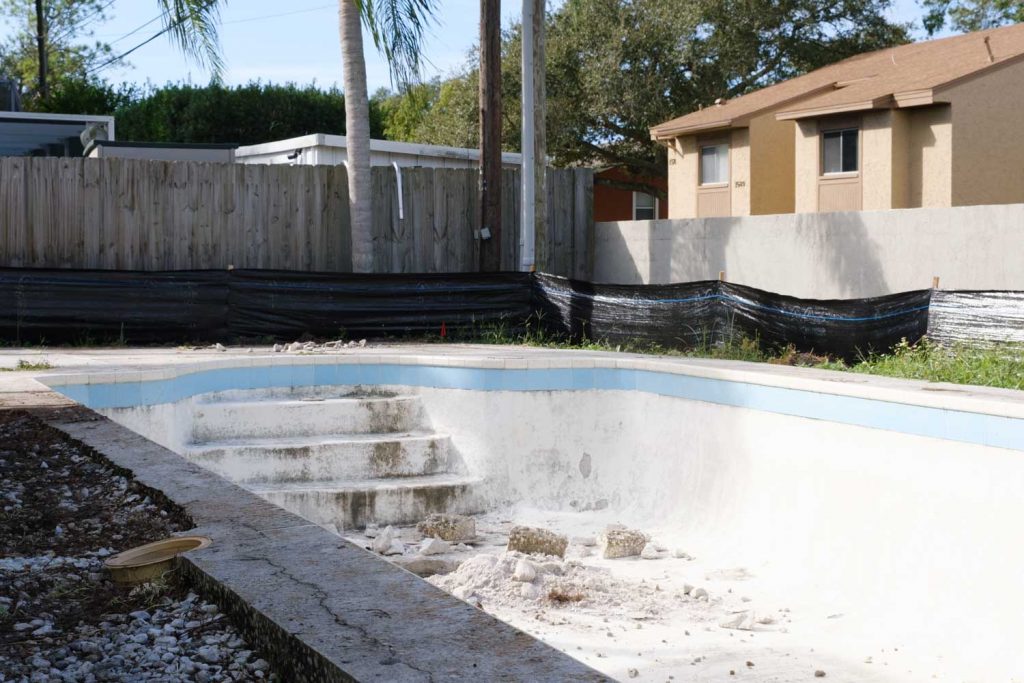
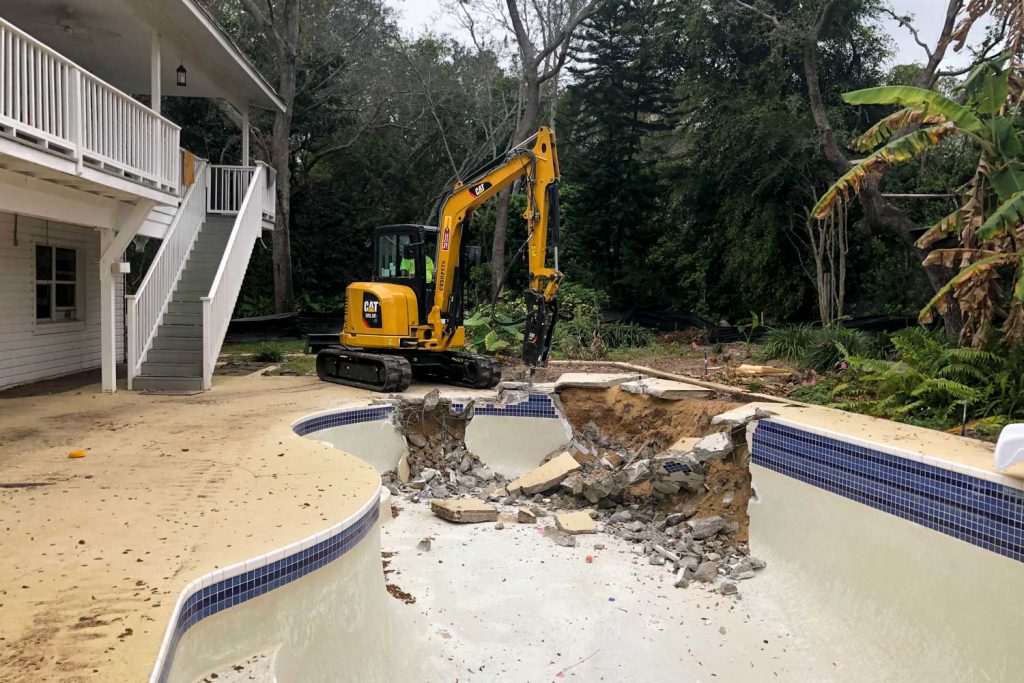
If You Have a Concrete Pool
For a standard concrete pool, we usually start by using a jackhammer to crack the walls and floor of the pool. Although, that said, sometimes the bucket of the excavator does a perfectly good job all on its own. Once the walls are weakened, we start to break up and pull back the concrete deck surrounding the pool. At the end, we push all of this concrete into a big pile in the center of the pool.
5: Clean Up the Waste
With the smashing finished, it’s time to start cleaning up the mess. We recycle all of our own concrete, so if your pool was concrete then it might be fun for you to imagine the road or building foundation that might get to inherit the remains of your pool. Everything else goes into one of our roll-off dumpsters, to be deposited at the nearest dump.
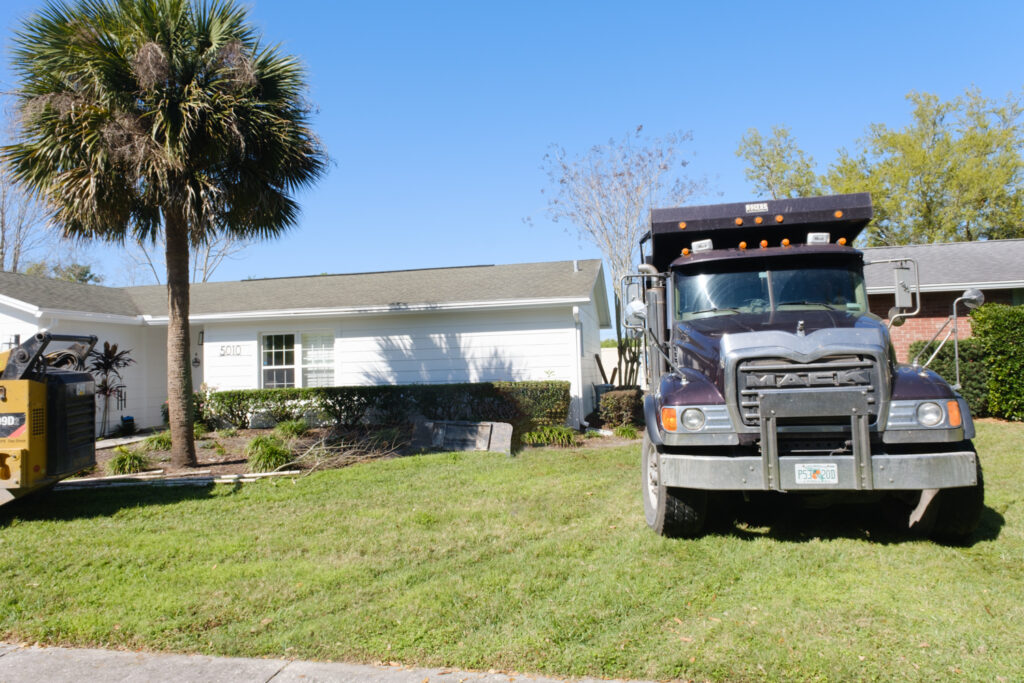
6: Fill the Hole
Once we have destroyed the pool and removed the concrete, all that will be left is a big old hole in the ground. If you are reasonably within range, we will send over fill dirt from our recycling yard. If you are a little further from home base, we have a network of friendly suppliers all over Florida that will step in to help. The majority of the material will be fill dirt, but we make sure that the last foot or so is clean, top-quality topsoil that will be very friendly to new plant life.
Compacting is important, too
As we fill the hole after the pool removal, we are also careful to compact the new soil. This will prevent settling down the road, when gravity slowly compacts the soil on its own. Left unchecked, this could create a large depression in your yard, or even structural issues with anything you build on top of it. That’s why this step is so important to us.
7: Seed Your New Yard
All that’s left is to spread some new grass seed or sod over your newly-reclaimed yard. In a few days, maybe a week after the pool removal is complete, your yard will look like there was never a pool there to begin with. The change is staggering!
Get Started today with your free quote!
If this all sounds like a great plan to you, then we really encourage you to reach out today. Give us a call and give us a chance to impress you. We promise you won’t regret it.

